
Posted By
Marfil Tiles
Published Date
06 April 2026
Let’s be honest.
You can choose the best full body tiles in the market… but if the installation is poor, the result will still disappoint. Uneven surfaces, hollow sounds, misaligned joints, most flooring issues don’t come from the tile. They come from how it’s installed.
So if you’re investing in full body vitrified tiles, this guide will help you make sure they perform the way they’re meant to by installing them perfectly. Keep reading to find out the right steps to install full body tiles.
Summary:
Installing full body tiles include several steps and following these steps carefully lead to a smooth and perfect installation. The steps are:
These steps look simple, but a small mistake can derail the entire surface. Thus, choosing the right full body tile manufacturer is important who can take care of everything, starting from helping you in choosing the right tile size to proper installation. Marfil Tiles can help you in the smooth completion of your project with our premium collection of tiles and expert installation.
Think about it this way.
Tiles are not just placed. They are bonded, aligned, spaced, and supported. Even a small mistake in leveling or adhesive can affect the entire floor.
With full body tiles, the expectation is durability. That durability only shows when installation is done right.
So before choosing designs or sizes, it’s worth understanding the process behind a solid installation.
Everything begins with the base.
If the surface is uneven, dusty, or weak, the tiles will never sit properly. No matter how good the tile is.
Before installation:
A strong base ensures proper bonding. And proper bonding ensures long-term performance.
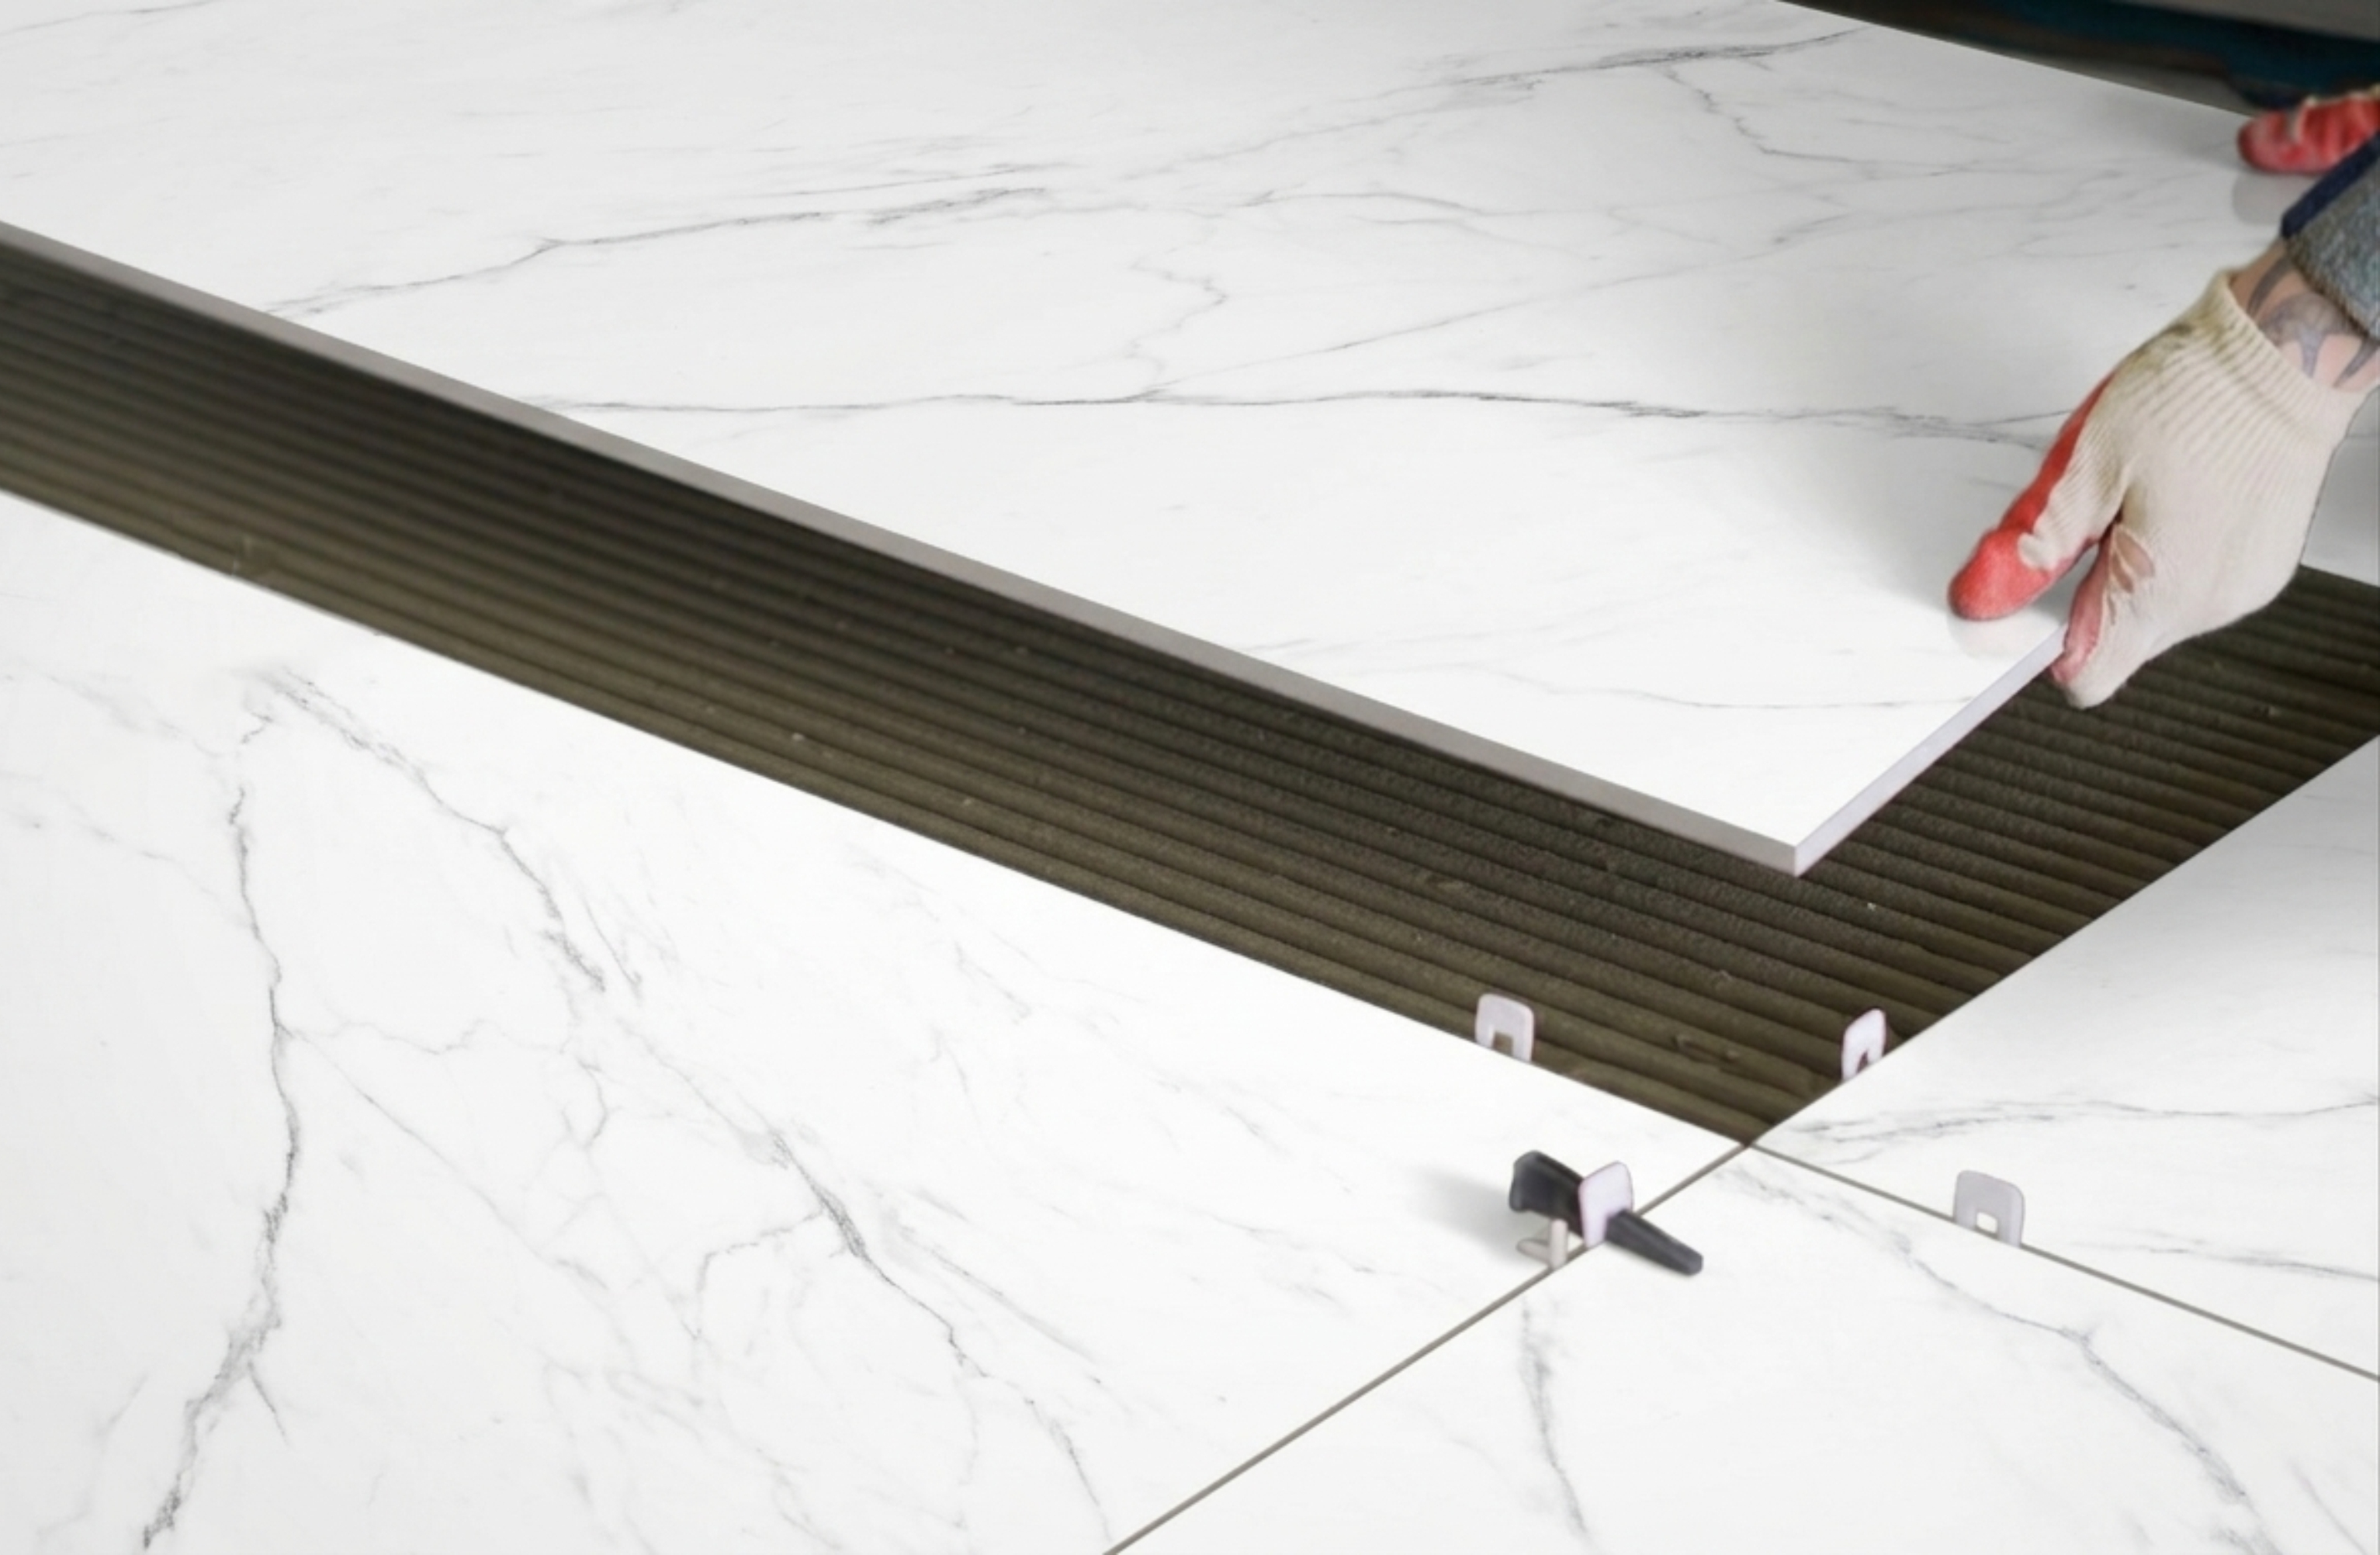
This is one of the most common mistakes.
Many installations still use basic cement mortar. While it works in some cases, modern full body vitrified tiles perform better with tile adhesives.
Why?
Because adhesives:
For larger formats or heavy-duty areas, using the right adhesive is not optional. It is necessary.
Ever seen a floor where cuts look random and awkward?
That happens when planning is skipped.
Before laying tiles:
Good planning ensures symmetry. And symmetry makes the space look clean and intentional.
After planning the layout, you will find the right measurements to cut the tiles to ensure proper fit in the space. Diamond head cutters are mostly use for precise cuts and minimal wastage.
Use spacers and holders to maintain uniform cuts.
Why this matters:
No one likes an uneven floor. But it happens more often than you think.
During installation:
Uneven tiles not only affect appearance but also create weak points under load.
A flat surface is not just about looks. It’s about performance.
Once tiles are set and cured, grouting completes the installation.
Grout fills the joints and locks tiles in place. It also prevents water and dirt from entering gaps.
Choose good quality grout and:
A clean grout finish enhances both durability and aesthetics.
Full body tile installation doesn’t end when the tiles are laid.
After installation:
This allows proper setting and ensures the tiles perform as expected.
Let’s quickly highlight what not to do:
These small mistakes can lead to long-term issues.
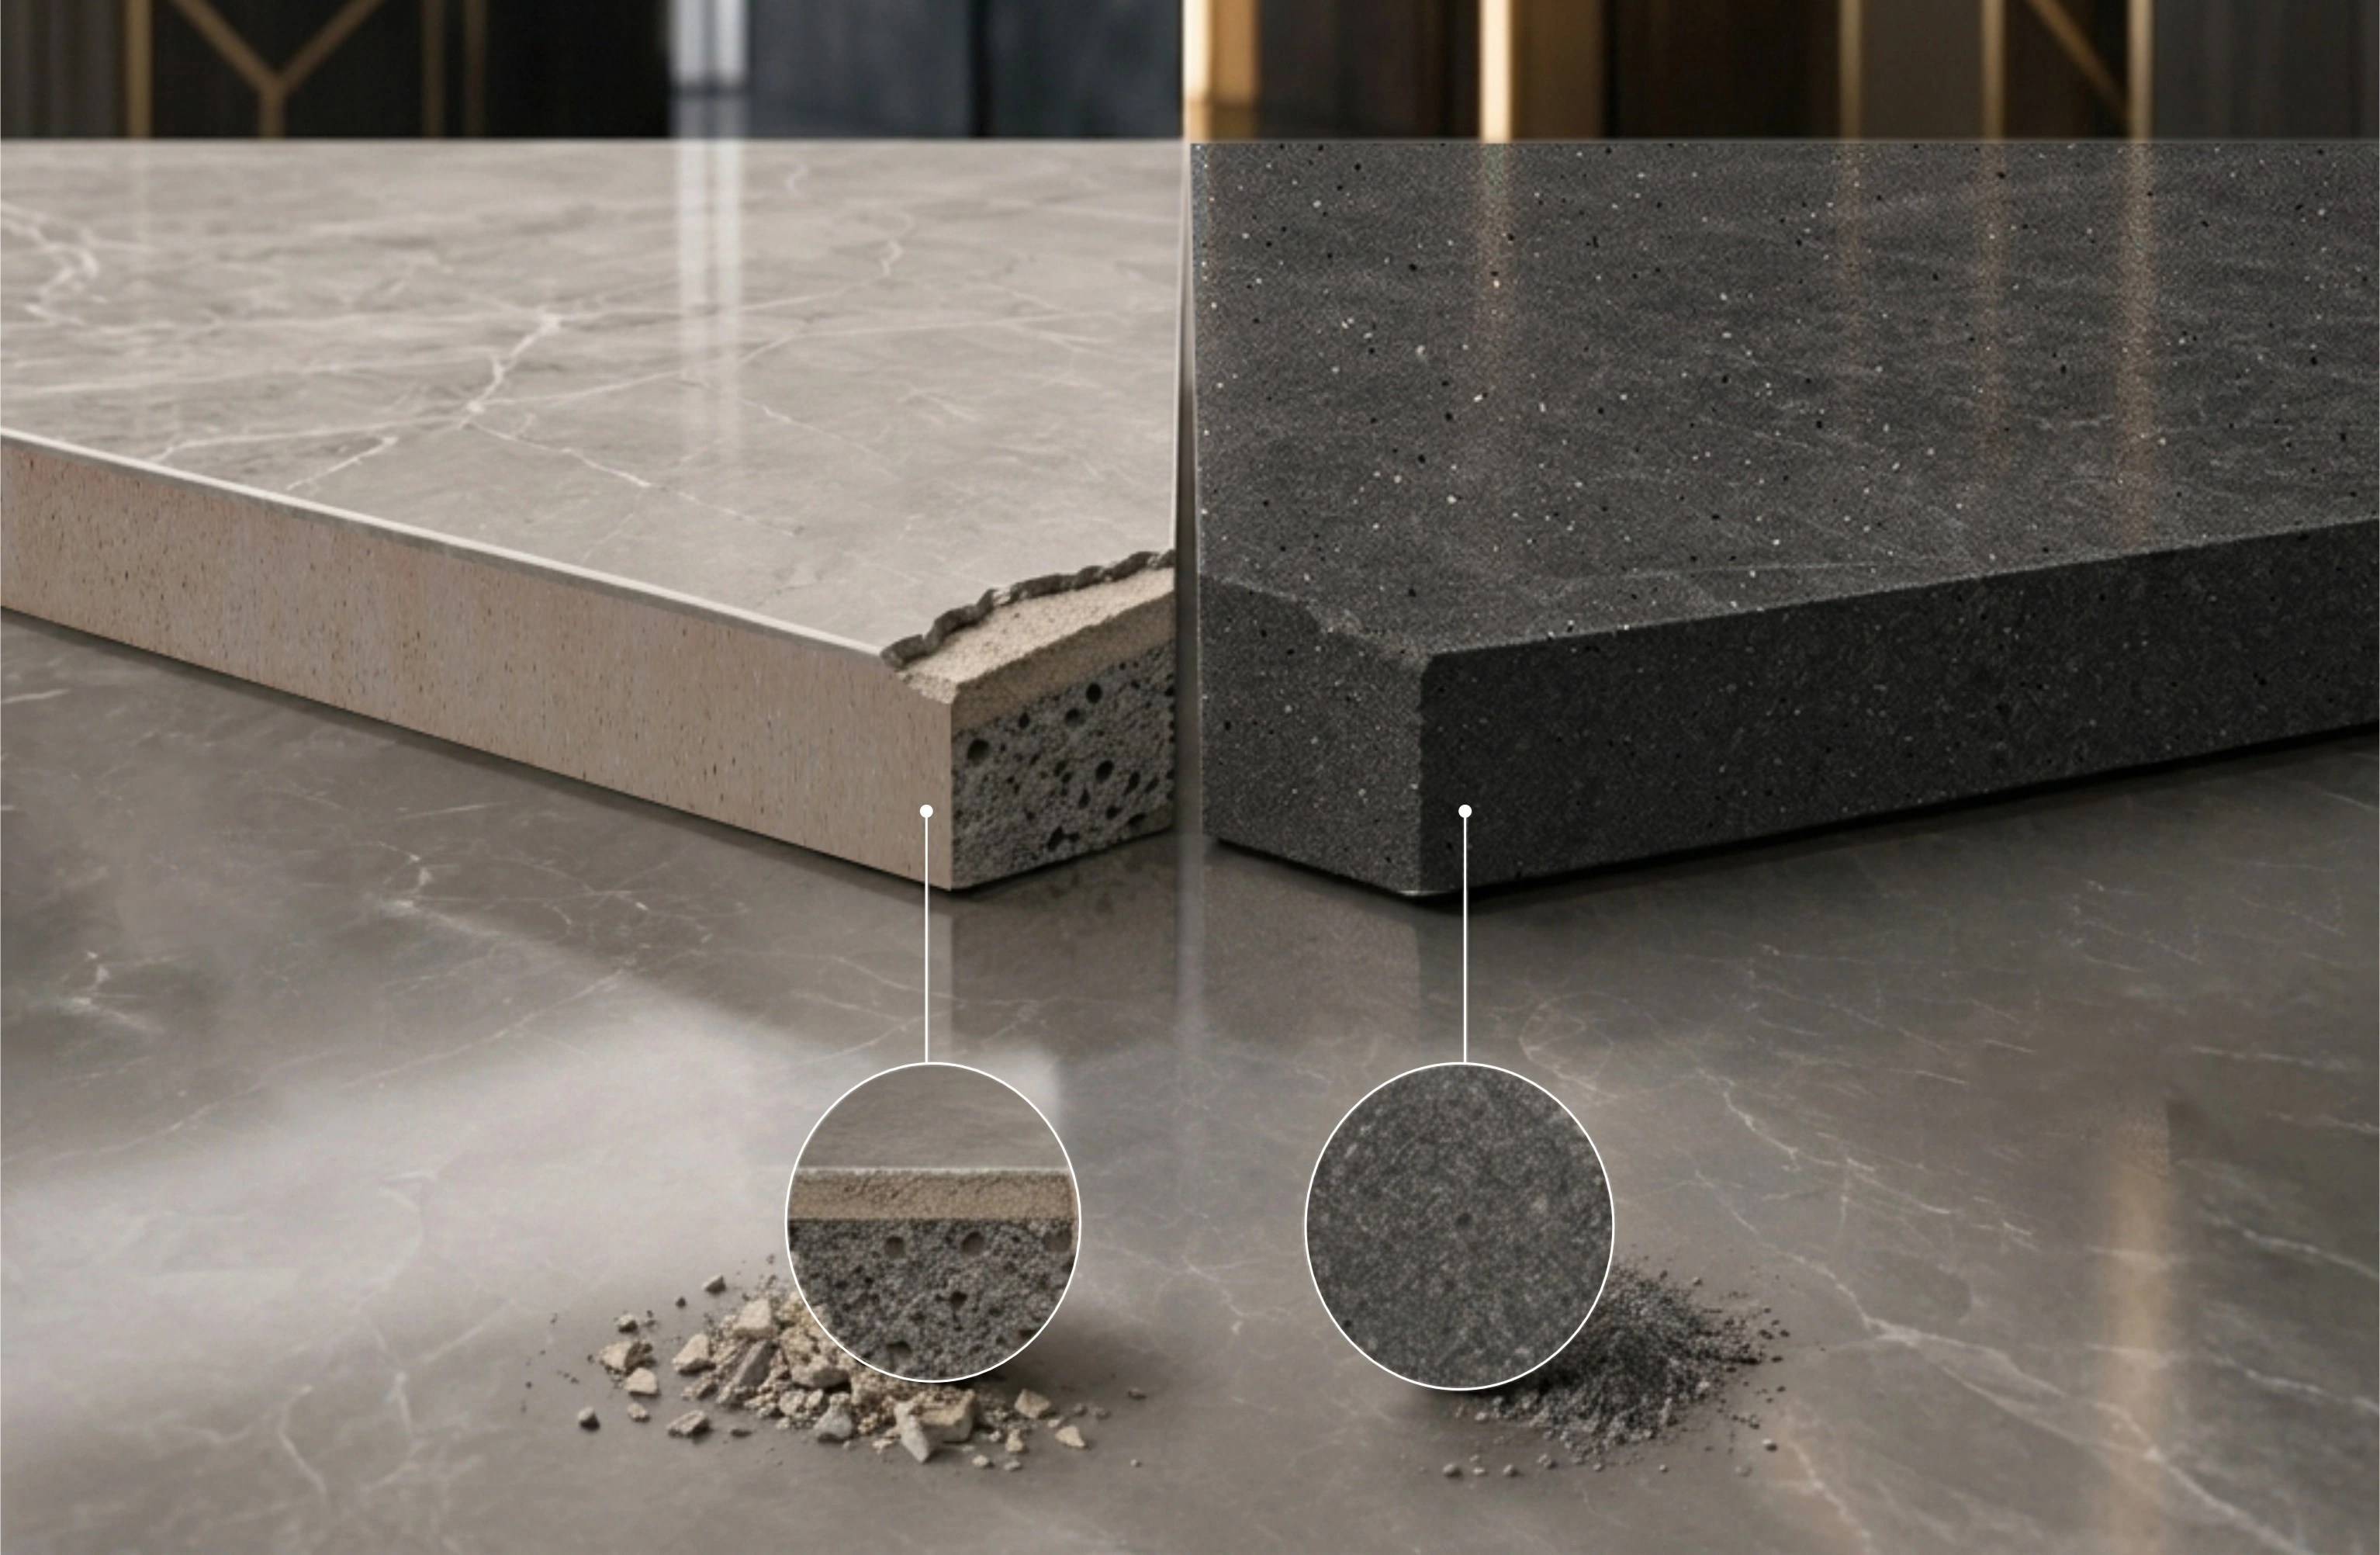
Even with perfect installation, tile quality matters.
Marfil Tiles focuses on producing high-density full body vitrified tiles with consistent sizing and finish. Being a full body tiles manufacturer in Morbi allows access to advanced production technology and strict quality control.
This consistency helps during installation:
Installing full body tiles is not complicated. But it requires attention. Because at the end of the day, good tiles deserve good installation.
If you are planning to install full body vitrified tiles in your upcoming project, we can help you from choosing the best tile designs to a smooth installation. Connect with Marfil Tiles today and experience a seamless journey of making your space beautiful.
Full body tiles should be installed by preparing a level surface, using the right adhesive, planning the layout, maintaining spacing, leveling tiles, and applying grout correctly.
High-quality tile adhesives are recommended instead of traditional cement mortar, especially for large-format tiles.
Yes. Proper joint spacing prevents cracks, allows expansion, and ensures uniform alignment.
Skipping surface preparation and using low-quality adhesive are the most common mistakes.
Latest Insights
11 June 2026
Why Luxury Developers Are Choosing Full...
In the quest for sustainable building materials, Fullbody Tiles have emerged as a leading choice for...
08 June 2026
The Hidden Advantage of Fewer Grout...
In the quest for sustainable building materials, Fullbody Tiles have emerged as a leading choice for...
16 May 2026
Why Don’t Full Body Tiles Show...
In the quest for sustainable building materials, Fullbody Tiles have emerged as a leading choice for...


